Recipe for a Badass DIY Electric Mountain Bike
Posted by Tom Lee on
By this point, we already know that bikes are awesome and good for you, cars are useful for a few limited things but come with major disadvantages, and electric bikes combine most of the advantages of both.
But they do still come with the downside of, “how does a somewhat experienced cyclist get a really good, fast one without spending several thousand dollars?”
I’ve made two attempts at the problem so far, with the following two bikes in my little test fleet right now:
I started with a home-brewed conversion of an existing commuter bike, putting it together with speed as the only consideration. This bike is fun and can hit 40MPH if you set both the motor and your legs to maximum. But the narrow wheels and zero-suspension design is not ideal for speeds like that: I blew out the front tire and broke a back spoke in bumps and potholes during the first thousand miles of riding. And even if you can avoid damage, the ride is VERY rough when you force yourself through city obstacles at greater than normal speed.
Somewhere in there, I added a Prodeco mountain bike, to see how pre-built bikes compare to a conversion and to see if I could tempt Mrs. MM and her friends into e-biking. Diagnosis: a solid bike, but too tall and heavy for smaller people. The big tires, front suspension and disc brakes, however, were way more useful to me than I expected. Despite the mandatory 20MPH speed restriction, this quickly became my favorite bike for trailer-pulling, rough roads, and snowy conditions.
However, a friend of mine in the neighborhood decided to seek the best of both worlds: a kit that is both more affordable and higher performing than the stuff I used, with a good quality full suspension mountain bike that he selected from Craigslist. Heavy duty, light weight, lower cost, and the full 40 MPH of speed on tap if you dare to use it – a rare perfect combination in the electric bike market.
My inventor friend is Carl, better known as Mr. 1500 from his blog 1500 Days to Freedom. He is another financially independent family man / tech industry veteran in his early 40s who likes to build stuff, which means we always have lots to talk about when our paths cross here in the streets of Longmont.
Since the real challenge of putting something like this together is the research, I asked Carl if he would share his findings. He surprised me with the following complete story and recipe for the build.
—
Mr. 1500’s Badass Electric Bike Conversion
I’ve always loved two-wheeled machines. I’m 42 now, but still remember the day that I learned to ride a bicycle clearly. I was 7 years old and my dad had been patiently running behind me, holding the seat while I learned to balance. After about a week of practice, he let go and I continued on, upright.
At that moment, I felt freedom. I could zoom all over the neighborhood at a pace that seemed like warp speed compared to my previous mode of locomotion, walking. My friends and I spent the summers putting many, many miles on our bicycles. It was good.
My love for two-wheeled machines never faded. When I was 20, I bought a motorcycle. While I enjoyed taking twisty roads at high speed, I just didn’t use the motorcycle enough. It mostly collected dust in the garage, so I sold it.
Back in 2014, I read MMM’s post on his Ebike with great interest. I occasionally missed the thrill of going fast on two wheels. Could an Ebike give me some of that need for speed while at the same time, getting me out of the car-cage?
Pete let me test ride his new machine and it was a thrill. At one point, I found myself thumbing for a turn signal, just as I would have on a motorcycle. Somewhere deep down, my brain thought I was back on a motorcycle. Game over. I had to have my own electric machine.
My Ebike
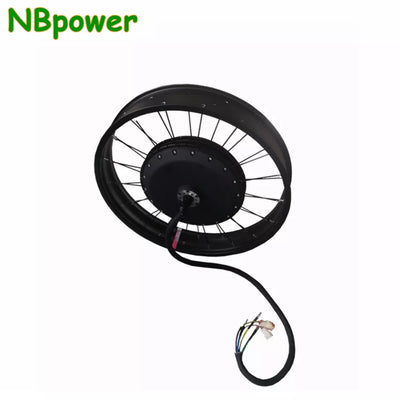
After doing loads of research, I decided to build a slightly different Ebike than MMM’s. Instead of a hub motor like his, I went with a mid-drive mounted motor. This means that the motor is mounted at the crank instead of in the hub. The mid-drive is great for climbing and centralized weigh distribution.
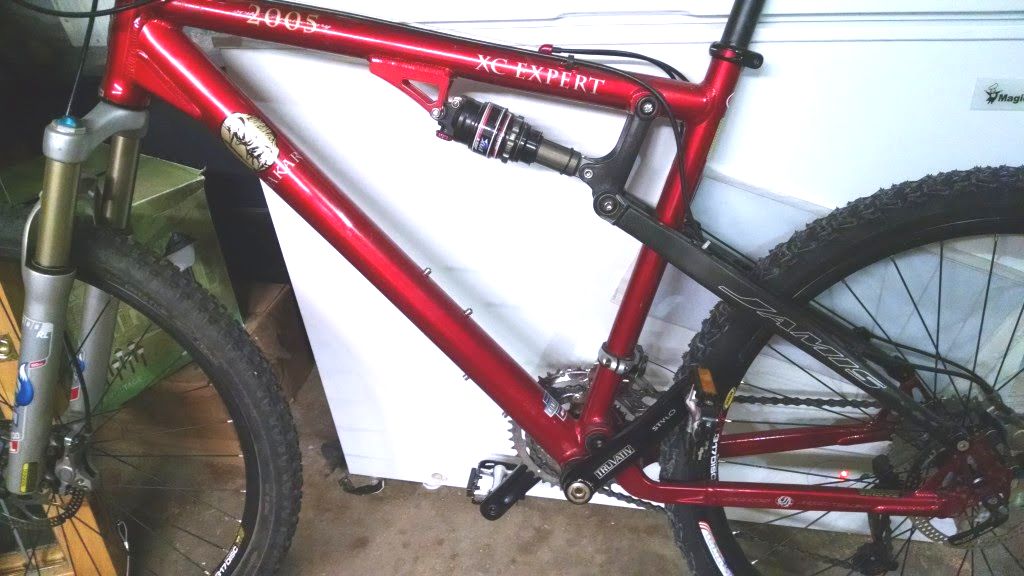
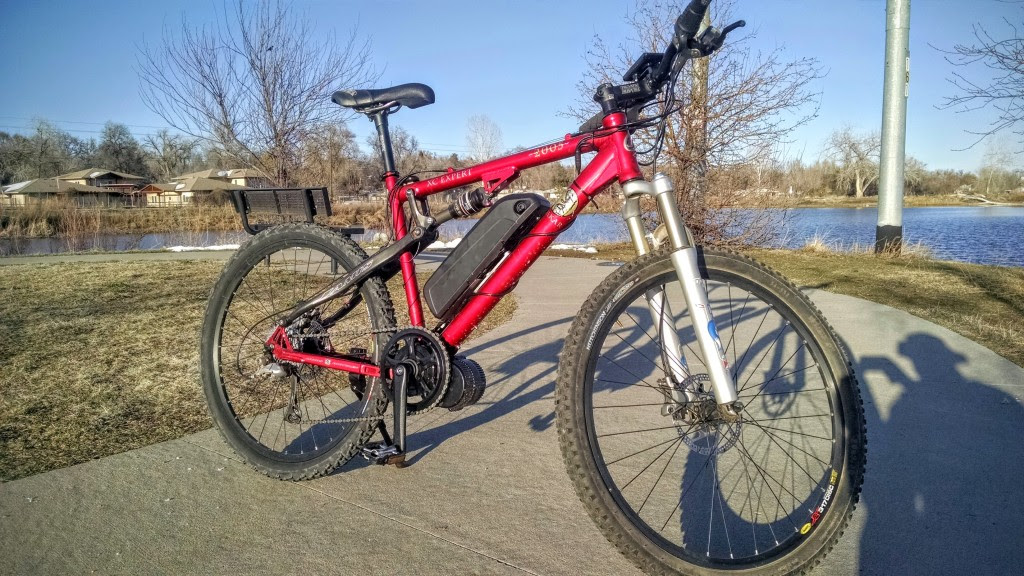
The bike: Mustache advised me to look for a full suspension bike. At the higher speeds of an Ebike, the suspension helps maintain control. I also wanted a bike that would accommodate the battery on the water bottle mount. Finally, I wanted low weight. The Jamis Dakar fit the bill, but there are plenty of suitable bikes out there. Its suspension geometry allows for mounting the battery pack centrally and the bike weighs in at 29 pounds. After a couple days of Craigslist* hunting, I found a nice example for $400.
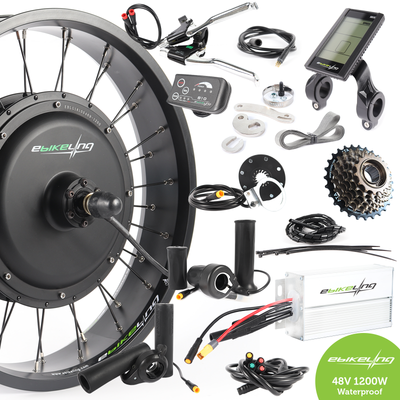
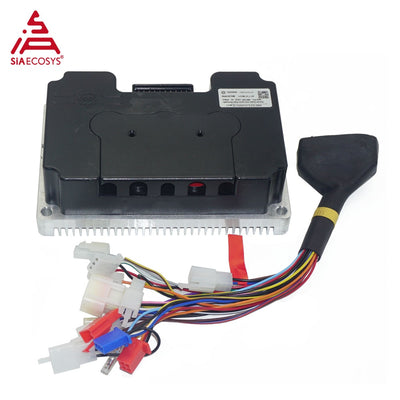
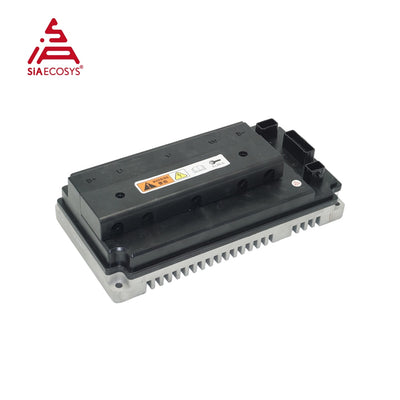
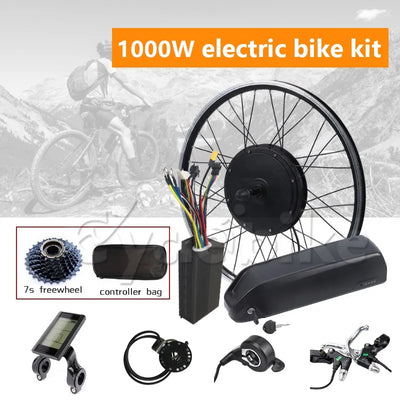
The kit: I knew that I wanted a mid-drive kit, but I needed to figure out the details:
- Motor: I went with a 750 watt Bafang unit (note that Bafang has since released a 1000 watt motor). This kit allows the bike to cruise around at about 30 mph with no pedal input.
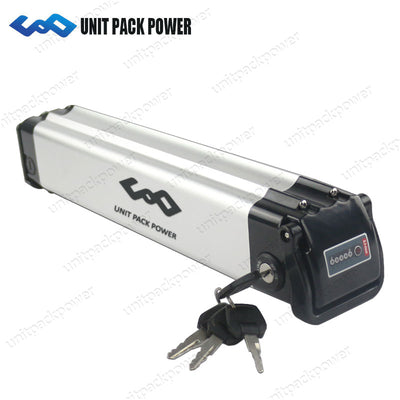
- Battery: Bigger is better. This bike is meant to be a commuting tool, so I went with a big battery pack; 52 volts, 13.5 amps. I also bought a pack with high quality, Panasonic 18650 cells, the same that sit in a Tesla.
- Charger: Lithium-ion batteries are temperamental beasts. They last much longer if you don’t charge them up to 100%. I paid extra for a charger that can charge the battery up to 80% or 90% to prolong the life.
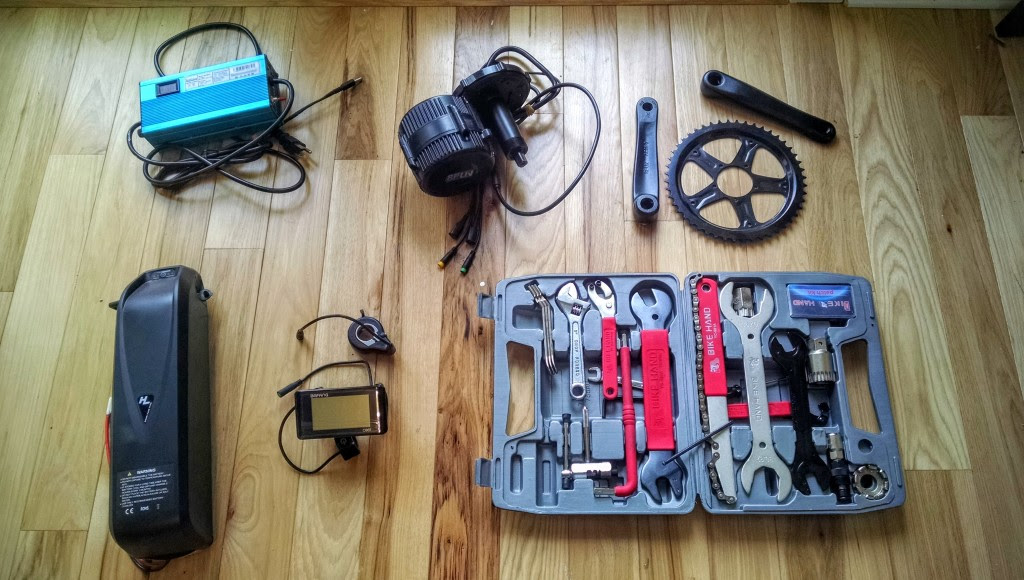
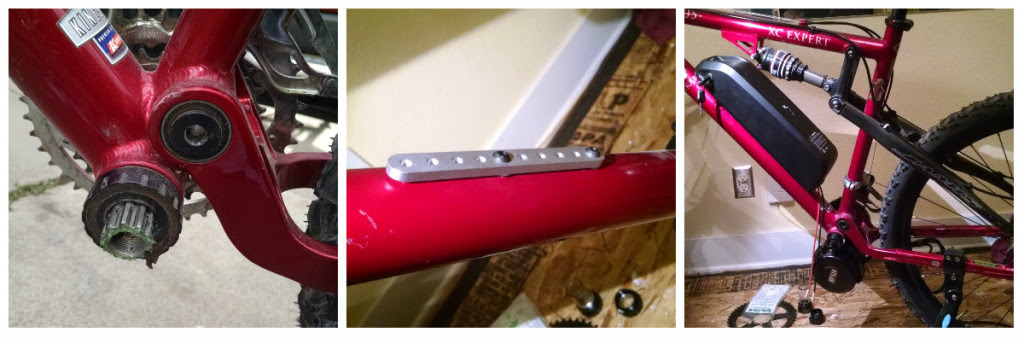
- Clockwise from top left: charger, electric motor, crankset, tool kit, computer, battery pack
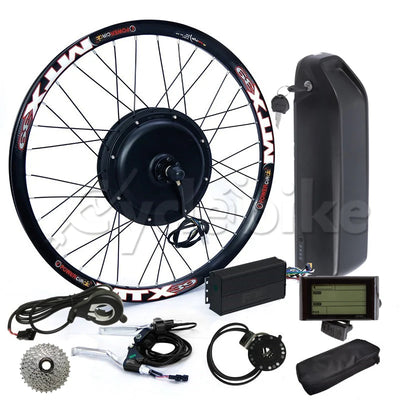
All of my Ebike components came in the form of a kit from Lunacycle (other places on the internet to order the kit include Dillenger and and EM3EV). The kits come with the motor, battery, sprocket, crank arms, display/computer, charger and just about everything else you need to build the Ebike. I also ordered a tool kit from Amazon and this adapter which was necessary to mount the battery on the water bottle mounts. Finally, I purchased a new chain which was needed to accommodate the larger sprocket.
The Build
I’ve done minor bike maintenance like changing tires and chains, but nothing quite as extensive as this. I was most concerned with taking apart the bottom bracket where the new mid-drive would sit.
My worries were completely unfounded. In fact, I was surprised at just how easy the build was. The most technical part was soldering together a couple of wires. With proper planning, even a novice can install this kit in two hours.

- From left to right: Disassembling the bottom bracket, installing the battery mount and connecting everything up
Basic Steps
- Remove the bottom bracket. Note that you’ll need special tools for this.
- Install the mid-drive motor unit.
- Install the battery pack mount and battery.
- Install the electronics including the speed sensor on the back wheel, the display unit and throttle on the handlebars.
- Connect all of the electronics.
Optional: Because the bike was full suspension, I recalibrated the rear shock to accommodate the increased weight.
Cost: The Ebike ended up costing about $1,600. The bike was $400 while the Ebike kit was $1100. The toolkit, chain and other supplies ran the bill up another $100. While $1600 is a lot of money, this bike is far better than off-the-shelf models that cost twice as much. Also, have you seen what a car costs lately?
The Ride
The Bafang mid-drive has two different types of electric assistance; pedal assist and throttle. The pedal assist detects when you are pedaling and fires up the motor, giving you a boost. My version of the kit came with five different levels, 5 being the fastest. The kit also has a throttle that can be used similar to a motorcycle. You can also program the kit through an optional cable. For example, if you don’t want to use the pedal assist, you can reprogram the unit to eliminate it and just rely on the throttle.
When you take your new Ebike on its maiden voyage, brace yourself and be careful! You’ll feel like superman the first time you turn the pedals and the pedal assist kicks in. Prepare yourself to get around town at a speed much faster than you’ve become accustomed. I was also pleasantly surprised to find that the motor is quiet and smooth. When I showed the bike to friends, most didn’t even realize it was an Ebike.
The first big ride was a 16 mile trip to Lafayette, CO. The ride would have taken me at least 75 minutes on a conventional bike. Despite a stiff headwind, rolling hills, and stoplights that didn’t go my way, I completed it in 45. Because it was my first ride, I was conservative. If I would have used the throttle to enhance the pedal assist, I would have been there much faster.
Why should you ride an Ebike?
Before I rode my new Ebike, I was worried that it might make me lazy. Would I just lay on the throttle and coast around everywhere with minimal (or no) muscle effort? The answer is a decisive No. When I’m on the Ebike, I find myself pedaling as hard as I normally do. The difference is that I get everywhere much faster. With that in mind, I would recommend an Ebike for two reasons:
Kill your Excuses: A 20 minute trip to Home Depot becomes a 10 minute trip on an Ebike. No more of the “I don’t have time to bike” excuse. You’ll get to most places at a pace similar to what you’d do in the old car. Only, you’ll be in the open air. What is better than that?
You’ll expand the distances you’re willing to bike: A couple weekends ago, I went to visit a friend in a town 20 miles away. With an Ebike, a 40 mile round-trip commute is no big deal.
It all comes back to time. I work full-time and so does my wife. We also have two children. Time is precious. The Ebike allows me to spend more time on a bike and less time in the car. I’m getting exercise and enjoying the Great Outdoors, free from that old metal cage. It is good.