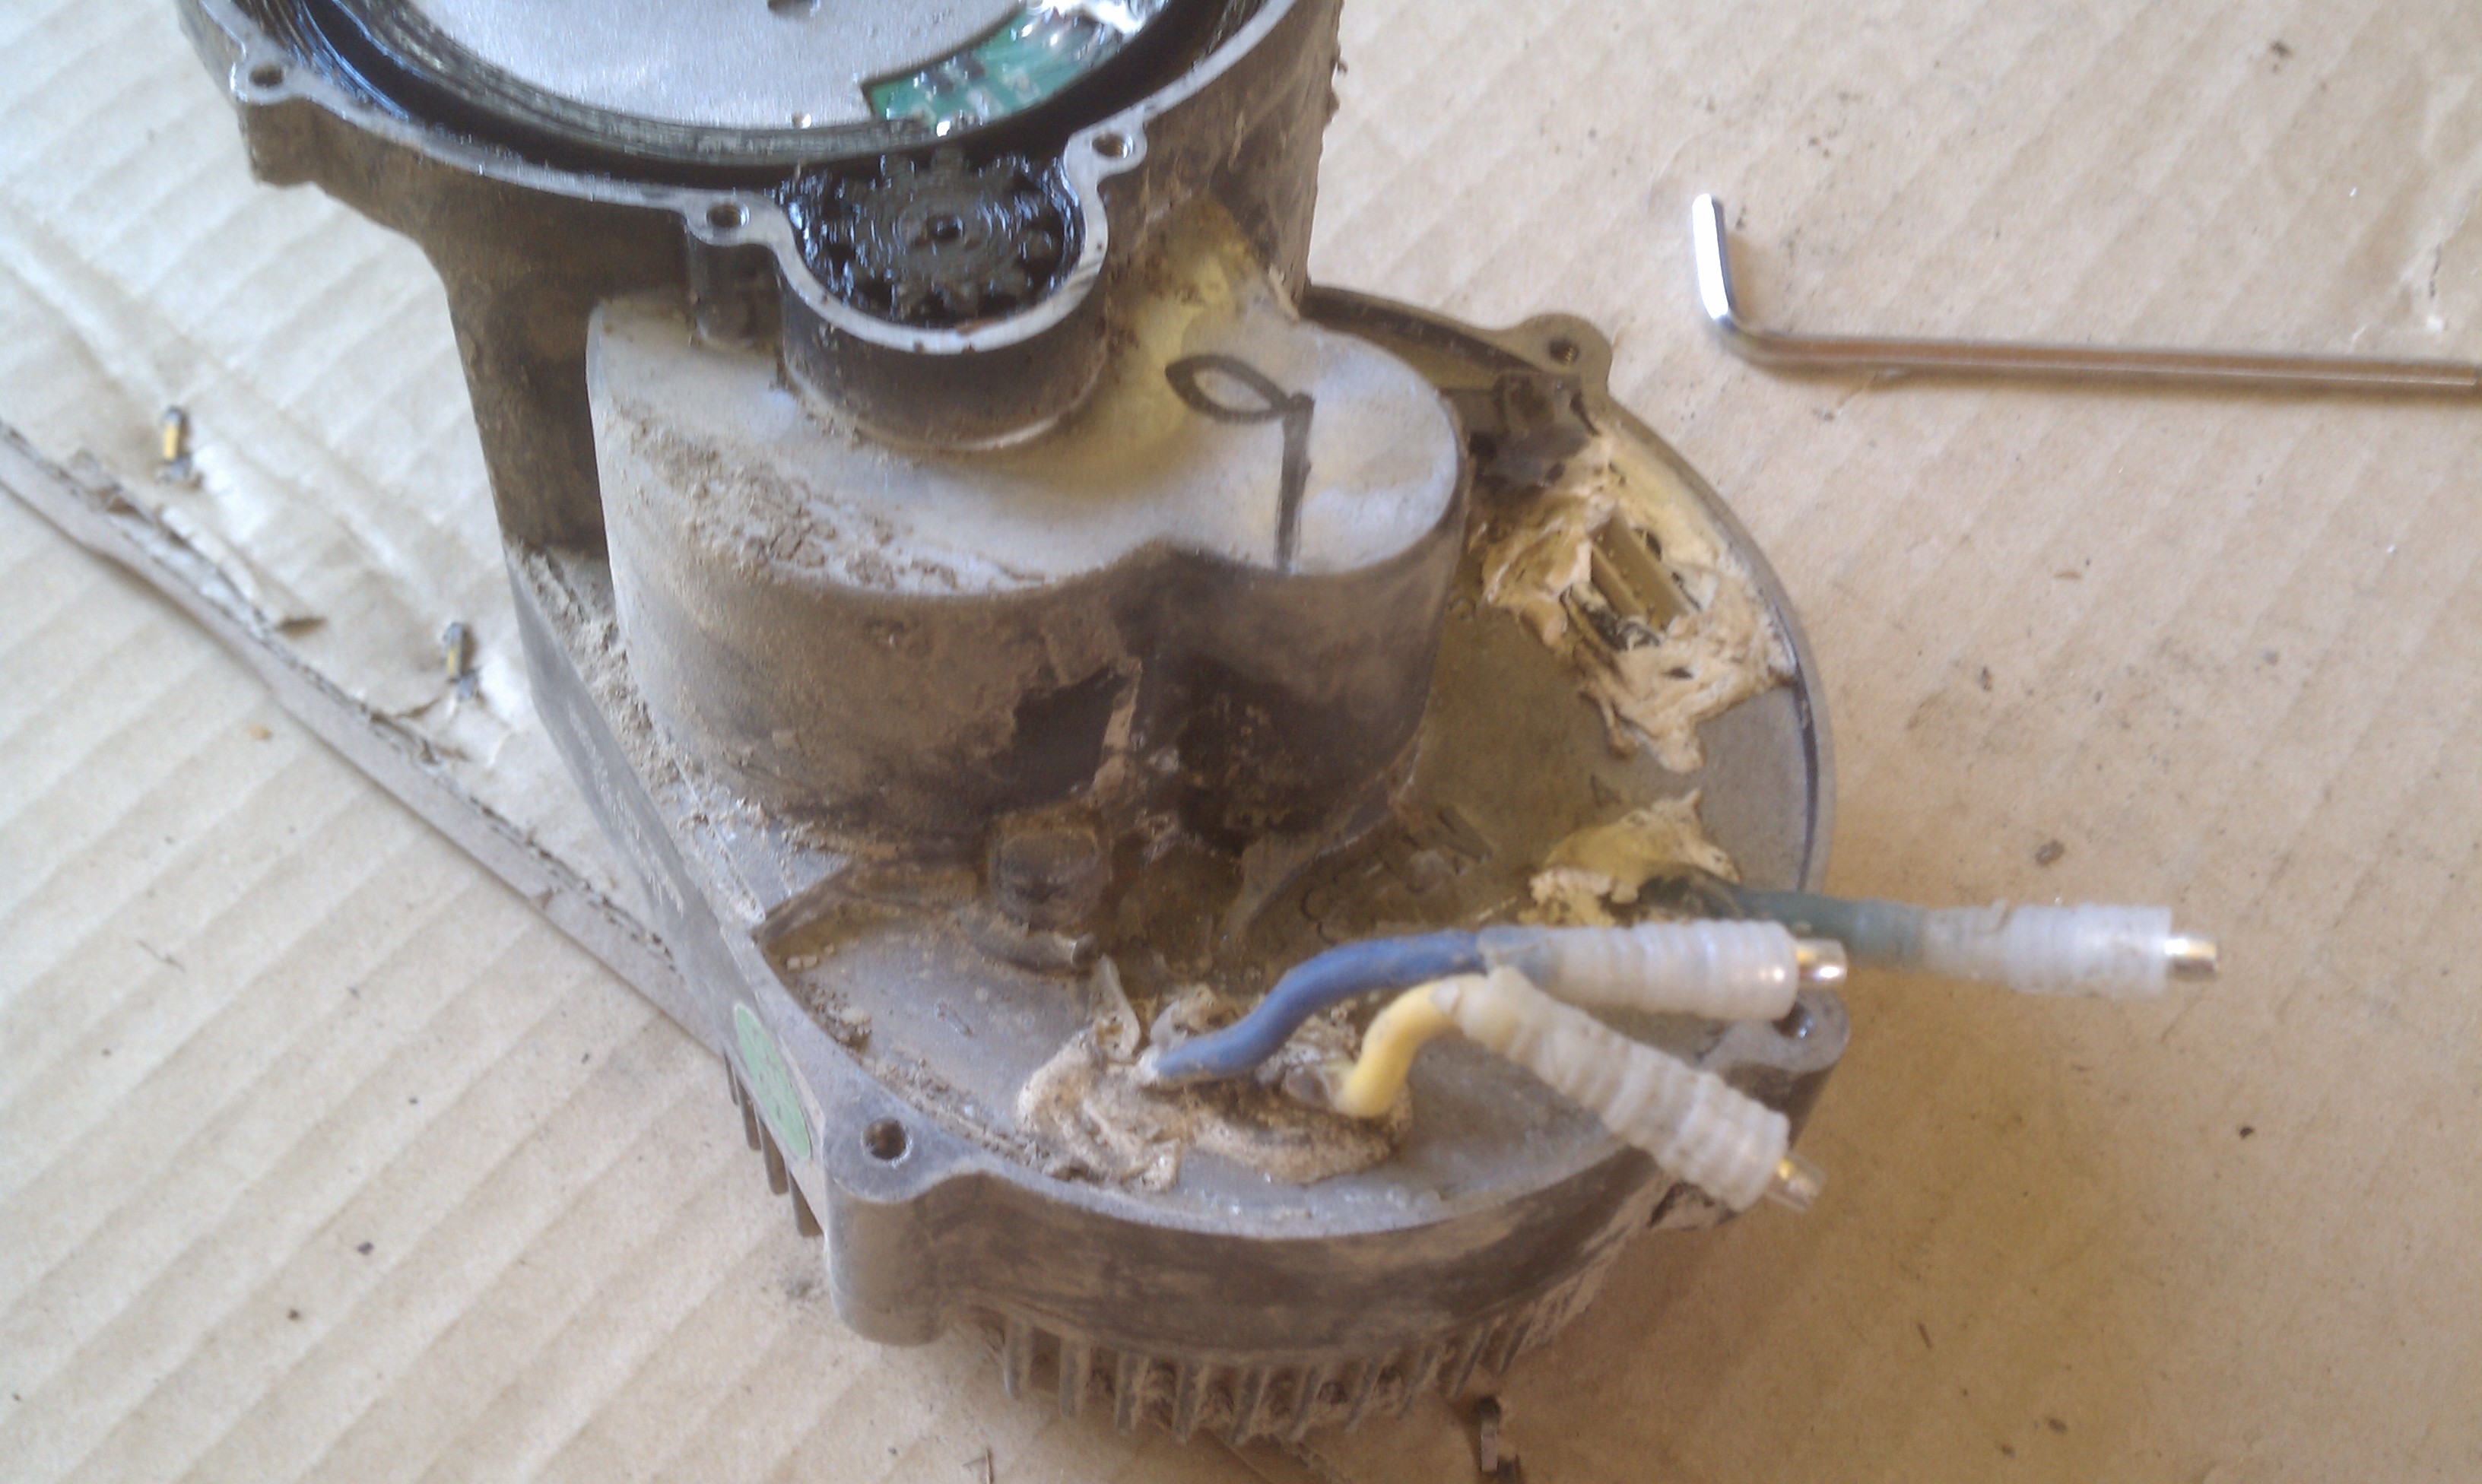
I have no idea how I got this much mud inside the drive unit.
In so many ways Bafang’s BBS02 750W drive unit is a dream come true. Almost anyone with very little technical know how can order a drive kit and 48v-52v battery pack and have it installed and running on almost any bike with 2-3 hours of work. Any other mid-drive ebike kit is going to take a lot more time and energy to install and get working properly. The problems arise when things suddenly stop working. Take a BBS02 drive unit into almost any bike shop that doesn’t specialize in ebikes and the owners will just probably shrug their shoulders and tell you that you’re on your own. This leaves most BBS02 owners with the difficult task of troubleshooting and fixing their own technical problems. This document will guide you down the often times confusing path of figuring out why things aren’t working right and hopefully get you pointed in the right direction to get it fixed.
Want to figure out all your problems? Buy 2 identical drive units from the get-go
As with any technical problem the first thing you have to do is break the problem down into a series of steps. Many of these steps will have you swapping out components that you probably just won’t have lying around. My advice when you buy a BBS02 drive unit is to buy two instead. They are relatively cheap and that will give you a bike you can ride with your significant other or friends with. You could also create a commuter bike and a trail riding bike. I am the proud owner of no less than 8 drive units mounted on different bikes and at least one of them is always broken at any given time. Having more than one drive unit is a great way to swap parts around and find out exactly what is wrong.

$30 for a fuel gauge that will take 150Amps and is an amazing must-have troubleshooting device.
Get a cheap watt meter
When you start troubleshooting the BBS02 the first thing you need to figure out is the problem with the battery or with the drive unit. Without a cheap watt meter this is very difficult to do. A messed up pack or a pack with poor electrical connections can often read full voltage with a normal voltage meter but as soon as there is any load on it the voltage can drop precipitously. With a watt meter in line between the drive unit and the battery it becomes immediately obvious if the problem is with the drive unit or with the battery. If the watt meter stays on when power is applied then the battery is probably fine and the problem is on the BBS02 side. If the watt meter shuts off then that means the BMS on the battery is cutting out and the problem is on the battery side. If you have more than one battery you can also try that on your bike which will work if you don’t have a watt meter. You can buy a 150Amp watt meter from lunacycle.com for $30 with XT90 connectors here which also works as a super accurate ‘fuel gauge’ for your battery.

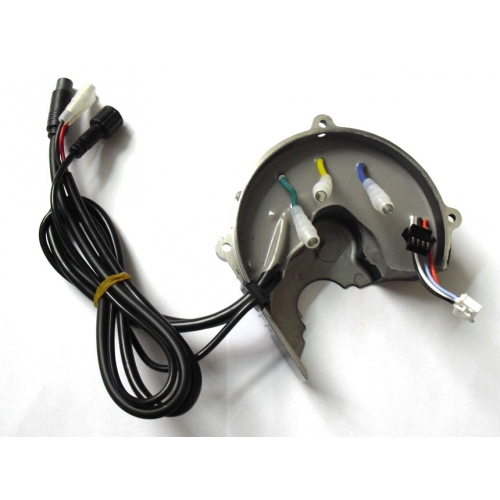
If your connector looks like this it might be time for a replacement
Check your connectors
When you connect a high power battery it sparks, even if your pack is equipped with a spark arrestor. This continual sparking when connecting the pack can eventually destroy almost any electrical connector, even ones like the Anderson power-pole connectors which are designed with a sacrificial tongue. The higher your voltage is the worse the problem seems to get. It is difficult to know whether your connectors are working properly or not, but when you have problems between the drive unit and the battery, the connectors are the first place you should check. A visual inspection of the connector should show if arcing has damaged the contact points. If the plastic connector has started to melt or the contact is black and damaged then replacing the connector is recommended. I’ve recently fell in love with the XT60 (60 Amp load limit) and XT90 (90 Amps load limit) connectors and I’ve been using them as my new standard on my packs and drive units. If you’re having trouble with the Anderson’s power-poles then try high quality XT90 connectors purchased with pigtails and soldered onto your existing wires. Put the female plug on the battery side to minimize shorting risks.
Check the easy stuff first – like ebrake connectors
I’m a big fan of testing the easy stuff first and the BBS02 runs fine without the ebrake connectors. If the ebrake sensor is busted or accidentally active then the drive unit will not do anything when it is on and the display is active and you will think it is a dead controller. Unplug the connectors for both ebrakes and the Giant Green Button (if you have one) before testing anything else.
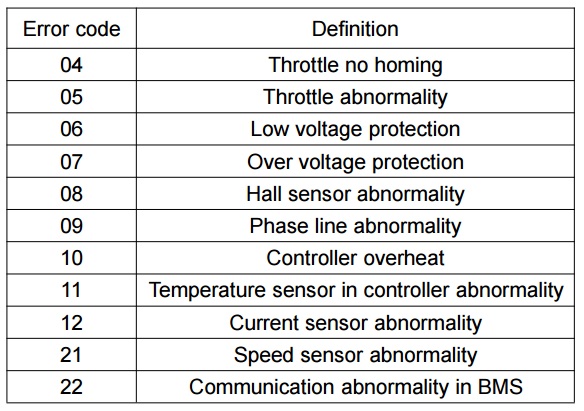
Are you lucky enough to have thrown a code? I never am.
There is a infinitesimally small chance that you are lucky enough to have a code display on your BBS02 display. The most common of these codes is the 21 code which shows a problem with the speedo. The most common problem is that the magnet has slid down the spoke and the speedo is no longer working. I use a small piece of gorilla tape wrapped around the spoke and then locktite the magnet sensor down to the spoke as hard as I can. If your speedo magnet is gone the BBS02 still works just fine and if you want to shift PAS levels up or down just tap the ebrake and the 21 error will disappear and you can move up and down PAS levels for a few seconds before the error appears again. In all honesty I’ve never seen any of these other codes even though I’ve had plenty of low voltage packs and overheated controllers shutting down on me.
If you get an error 30 code you probably have a bad C965 display. Bafang had a run of BBSHDs with a large number of failing displays during early 2016. Swapping out the controller or cable is not going to help, talk to the vendor you bought the BBSHD from and get a replacement display. I’ve also heard of people having their cabling on the display break internally and getting the same 30 error.
You must take care when removing rear tires for service on fatbikes as the speedo comes quite far out into the tire area and can easily break when you try to force the tire past the speedo. The best course of action on fatbikes is to twist the speedo up or down out-of-the-way then remove the tire for service and then twist the speedo back after the tire is remounted. You should have about 5mm of clearance between the magnet and the speedo crosshairs area. The connector can be broken but still look fine from a cursory inspection. If you’re getting the error and everything seems fine then grab the connector firmly and wiggle it to make sure the unit has not broken apart and just appears to be fine from the outside.
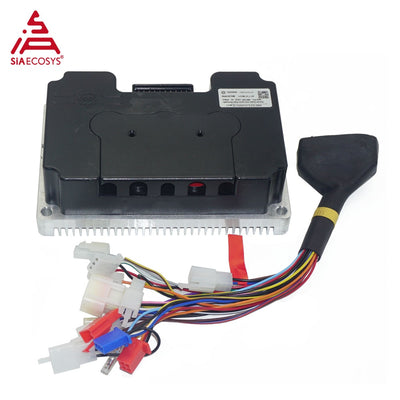
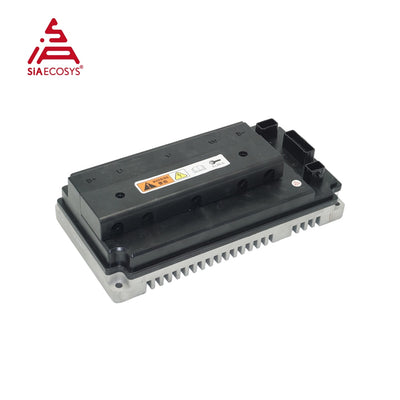
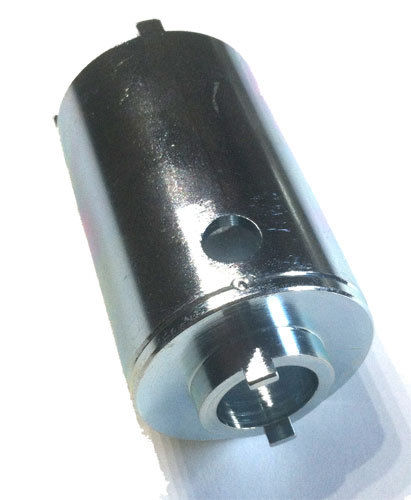
The BBS02 750W controller, historically the weakest link in the drive unit.
Did my controller overheat and shut down or is the battery dead?
If your BBS02 shuts off itself after a lot of hard climbing and won’t turn back on until you disconnect the battery and reconnect the battery then you either
- Hit the low voltage shutoff
- The controller overheated
If either of these two things happen after unplugging the battery waiting 60 seconds and reconnecting the battery the unit should power back up and work properly. When there is no load on the battery the voltage will quickly recover.
If you don’t have a temp probe and you’re not sure if it shut down from overheat or low voltage then reach down and hold your bare hand on the drive unit casing. If you have a hard time keeping your hand there because it is so hot then you probably overheated the unit. Wait 5 minutes before starting off again, if you’re on a steep 20% grade hill then I usually will just walk my bike to the top as the motor cools.
Blowing the mosfets on the controller
You can blow a controller pretty easily without having it overheat if you are using a large chainring and are in too high of a gear on a steep hill. This is less of a problem with the newer mosfets, but it can still happen.
The controller is blown if the unit does not power off when it dies but instead you hear a bunch of clicks like gears skipping and then the throttle doesn’t do anything and you can’t hear any motor running at all when you hit the throttle. Some users report a very faint click when they hit the throttle which is the power cut out as the battery shorts to ground from the blown mosfets. The only solution to this problem is replacing the controller, preferably with one that has the newer mosfets on it which are a little more expensive at $100 but worth it. If the item description for the controller does not list the newer mosfets like this one from lunacycle, then you should ask the vendor what mosfets it has before you buy it. You can also replace the mosfets yourself with ones that don’t suck from Digikey but it’s not for the meek of heart and not recommended.
If the mosfets on the controller are blown you should feel a fair bit of resistance when you spin the rear wheel backwards and the tire is off the ground.
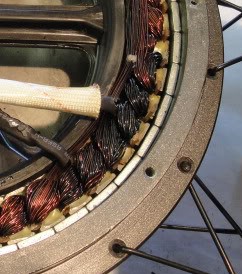
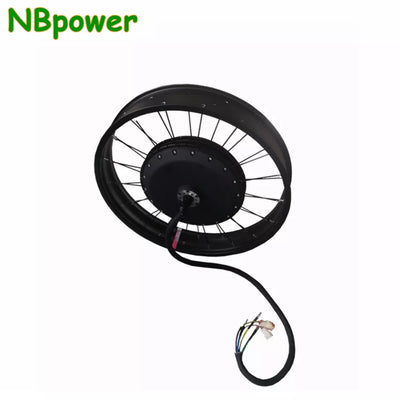
Melted windings can fry a motor, a hub motor is shown not the BBS02 unit
Just because the motor won’t work does NOT mean the controller is dead
If you overheat the drive unit by dumping 1400W into it continuously with the throttle there is a good chance that you can also melt the insulation varnish on the motor windings. Melted motor windings can lead to a motor that doesn’t power up at all and acts nearly identically to burned out mosfets on the controller. If your motor stops working and it has been under load the first thing you should do is put your nose right next to the unit and take a good long sniff. If the windings have burned out usually you can smell it for a short period of time after they fry. In contrast burned out mosfets will not smell at all. The easiest way to check to see if the windings are melted is to take the motor apart and do a visual inspection of the windings. If the windings are melted you should see black marks where the motor overheated and the varnish melted.
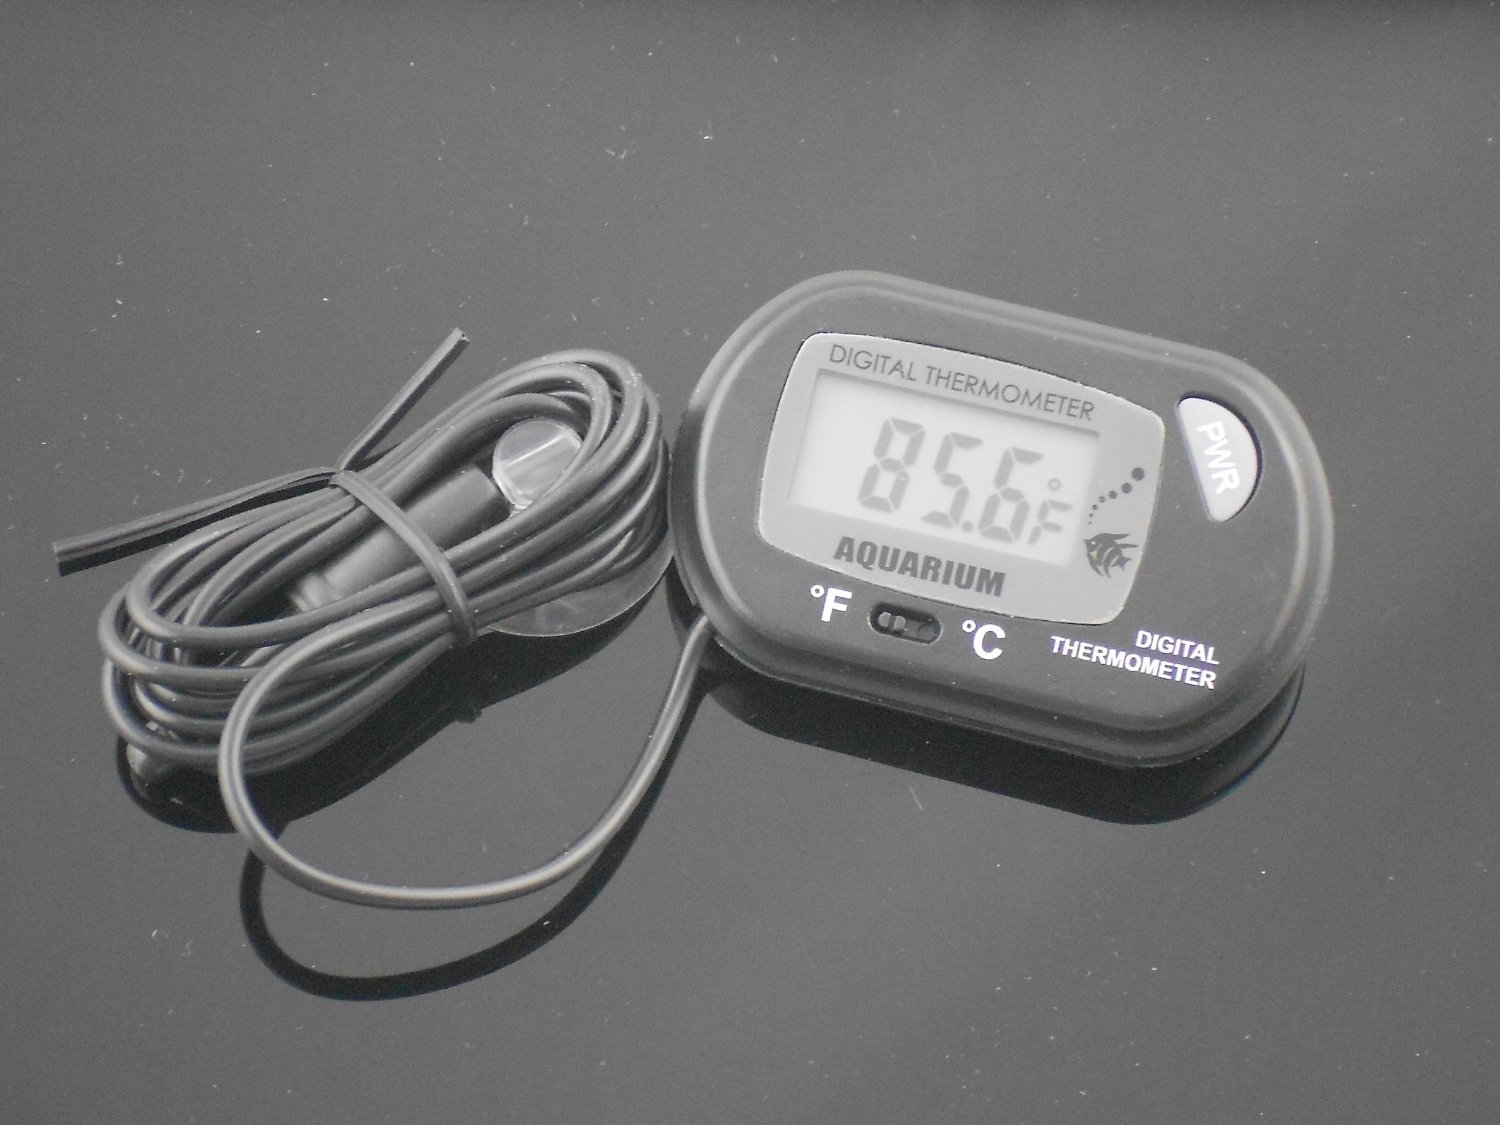
A $5 thermometer can save your $80 controller.
Best way to not fry or overheat your controller is with a temp probe
Most of my BBS02 units have a temp probe installed on them, the instructions for doing that are here. This allows you to know when the unit is going to overheat and to stop feeding it so many watts before it does. After several hundred hours of beating on the BBS02 with temp probes hooked up you will have a much better idea of what the drive units like and what they don’t like. What they really hate is being in too high of a gear with too slow pedaling cadence on too steep of a hill. Riding with a temp probe will help you learn what you can get away with, but as a rule of thumb just keep in a gear that keeps your pedaling cadence very fast when you are on a long steep hill. If you are using the throttle on power level 9 regularly then you must read this article on care and feeding of your BBS02 if you want it to not die a quick and untimely death.
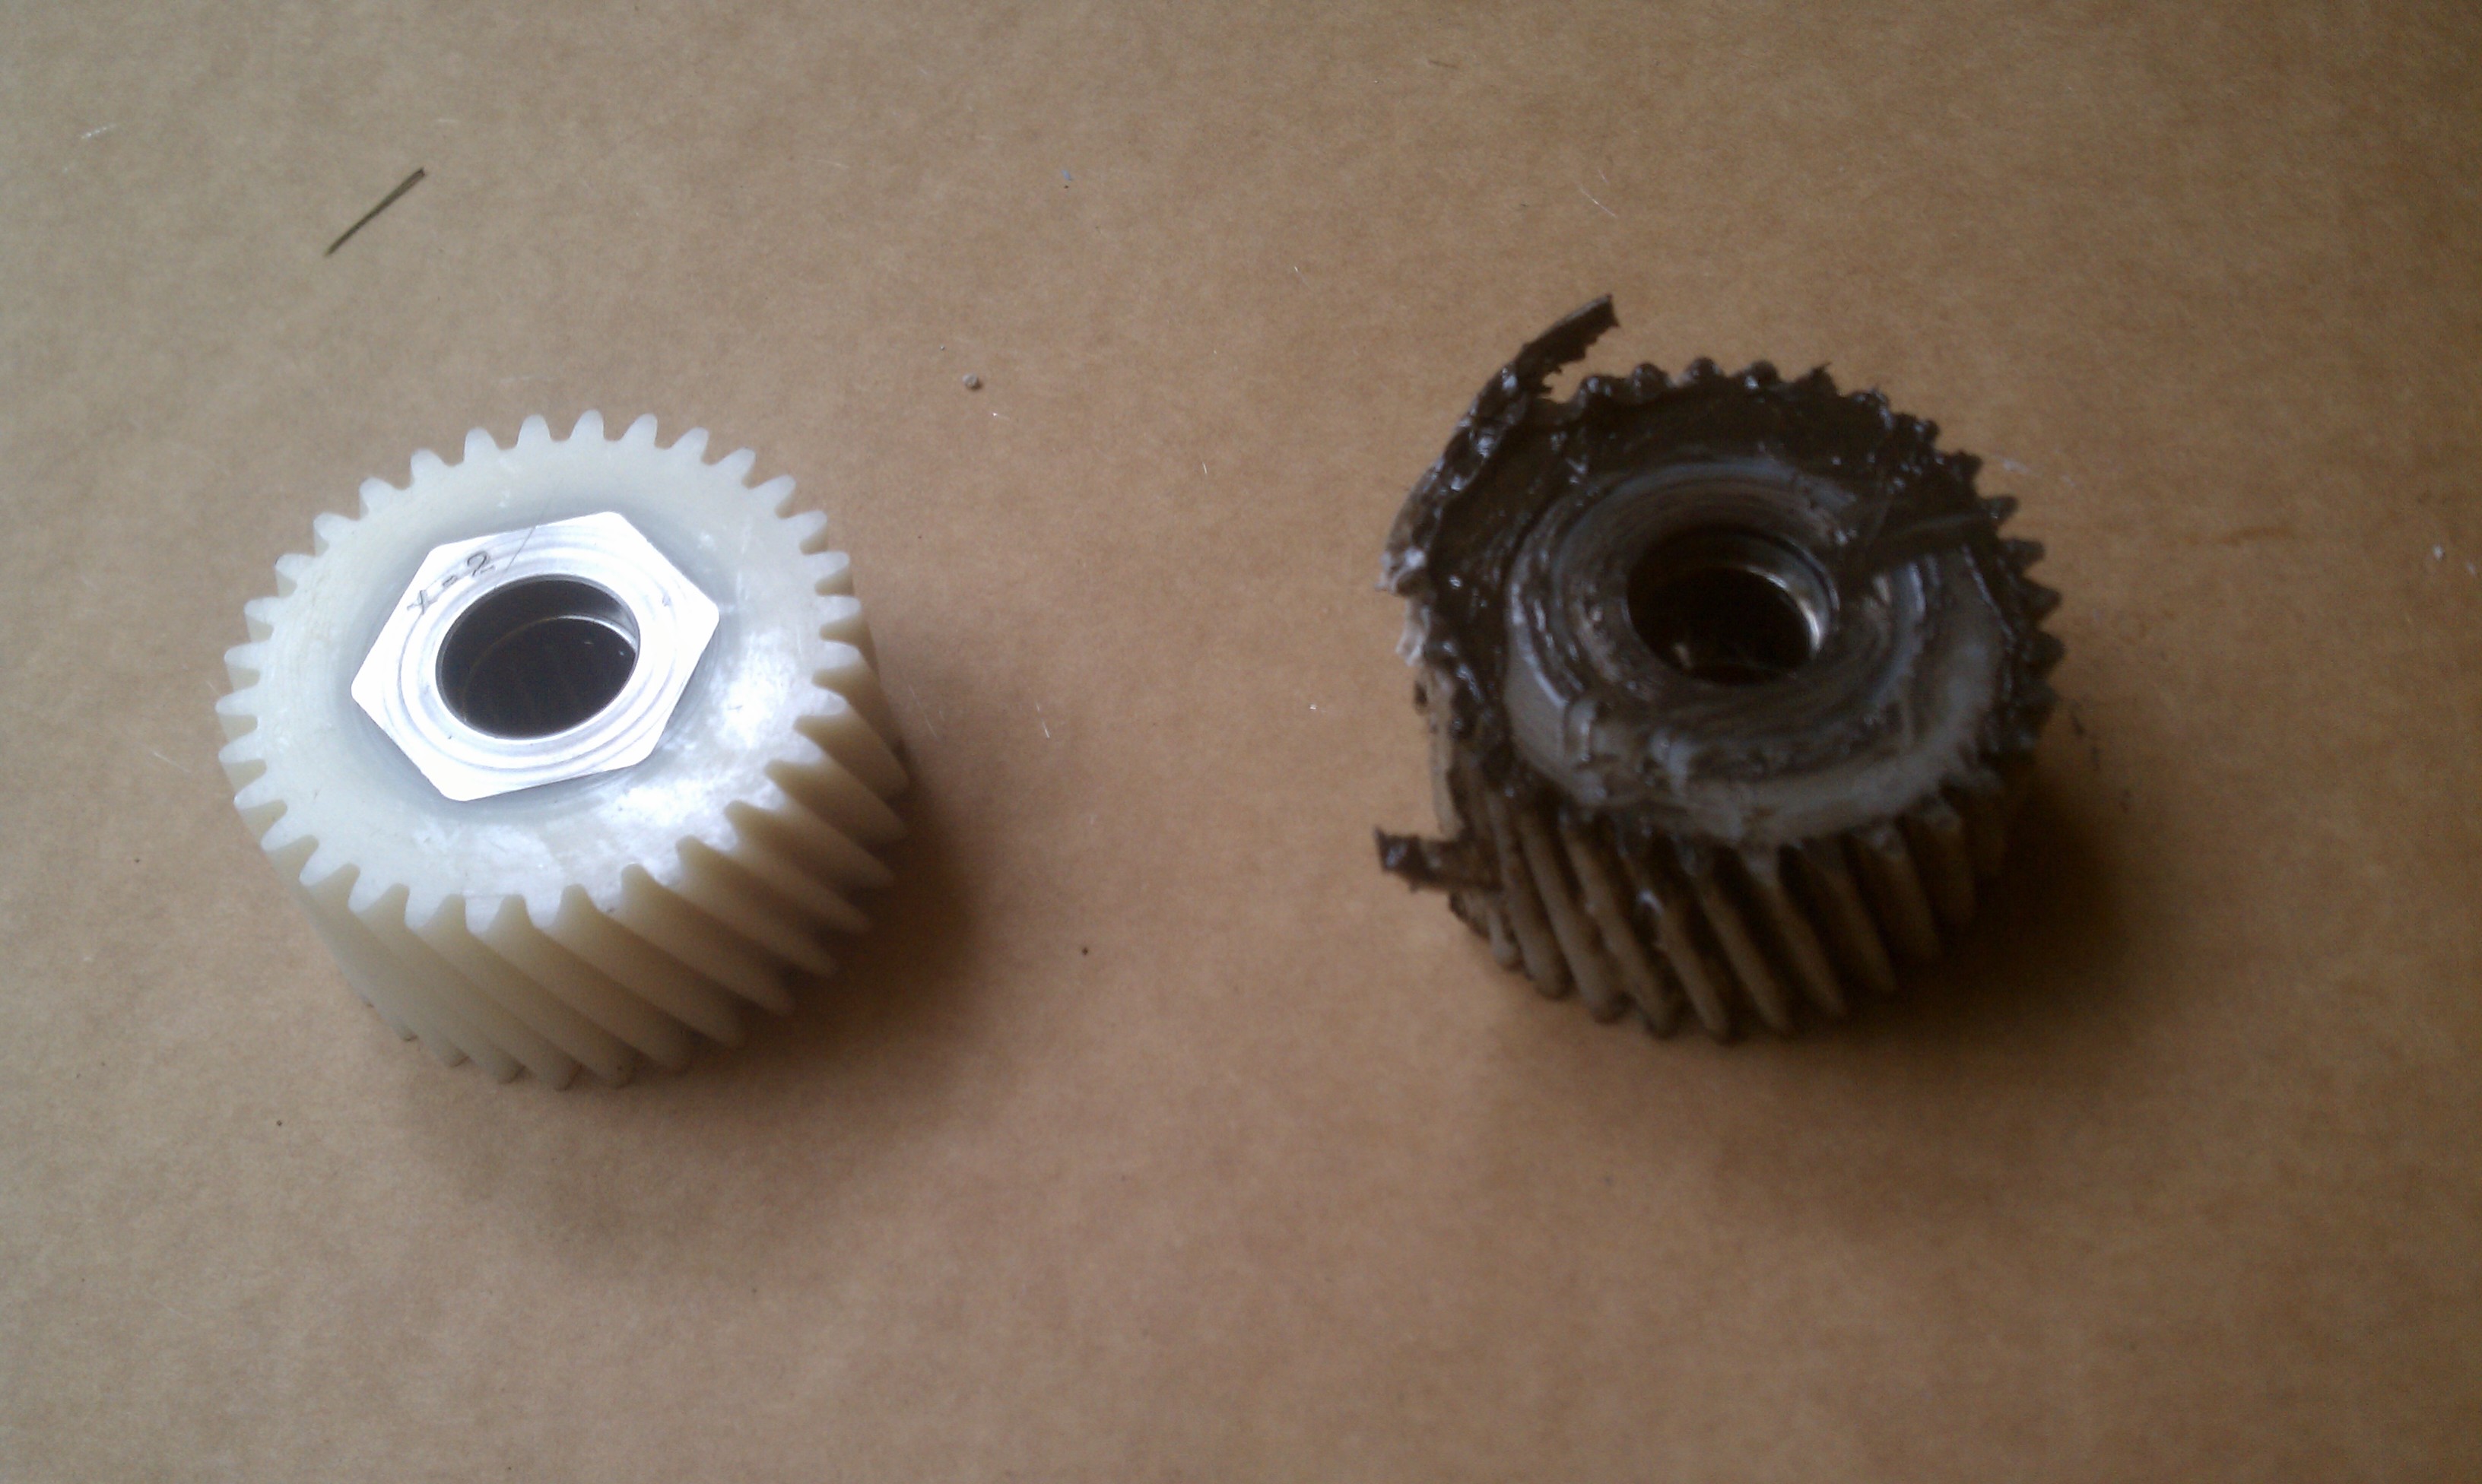
A major weak-point of the BBS02 drive unit, the nylon reduction gear
My motor turns and I can hear it but nothing turns
If you are unlucky enough to have this happen then most likely the nylon gear has failed. It’s relatively cheap and an easy fix, the instructions are located here. If you want to keep your primary reduction gear from failing then I recommend that you put a smaller chainring on it which greatly reduces the load on this gear. If the nylon gear is fine when you take it apart then you should check the secondary reduction gears (both are metal so unlikely to fail) and also check the freewheel which is located on the main axle inside the large metal secondary reduction gear.
Be careful not to get any black heavy axle grease on the white wheel. This grease can break down the nylon and cause the gear to fail prematurely (as shown above).
Often if your primary gear peanut butters the bike will not roll backwards without a huge amount of resistance. If you can roll the tire backwards with the motor running you will hear grinding and feel the motor skipping through the wheel.

These screws must be locktited and torqued down as hard as you possibly can
The chainring wiggles laterally on the bike but the pedals don’t wiggle
If you pull the crankarms back and forth with perpendicular force to the bike and they don’t move but the chainring does wiggle when you push and pull it perpendicular to the bike then the Phillips screws that hold the freewheel on have loosened up. You will need to remove the axle and then remove these large Phillips screws (they are replaced with the much preferred hex screws on the Bixtrix 100mm drive unit) apply locktite and replace the screws torquing them down as hard as you possibly can without stripping them. I recommend putting the axle in a bench vise and getting a very large Phillips screwdriver and then attaching vise grips to the screwdriver handle and turning them with all your weight on top of the screwdriver. When replacing the axle read the paragraph below on getting the axle tension right.
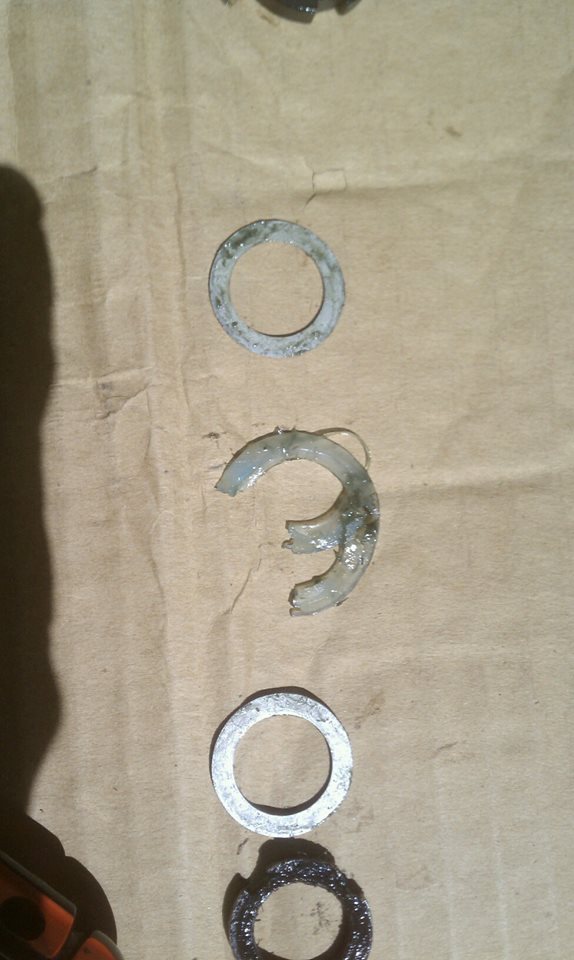
Expect the rubber washer to be severely mangled on every drive unit you get.
The chainring wiggles laterally on the bike and the pedals wiggle too
The reason this has happened is because your lock rings at the end of the axle have loosened. This is actually a problem I’ve had more than once and it is a little tricky to fix. There are two lock nuts on the axle that tighten against each other with a rubber washer in between. Almost every drive unit I have ever taken apart the rubber washer is ripped or shredded. It is supposed to keep water from seeping into the drive unit but it gets mangled at the factory and never really works right anyway.
The problem is this. You tighten the first nut down so that the bearings are perfect and have a barely perceptible movement when the axle is shoved back and forth. Then you put on the rubber washer and tighten down the 2nd lock nut against the first lock nut. The problem is that often when you tighten down the 2nd lock nut the 1st lock nut that is already there gets even tighter and then ends up being much too tight. If you can’t turn the axle with your fingers pretty easily when the axle is installed then you need to take BOTH lock nuts off and start all over again. It is not uncommon for me to have to do this 2 or 3 times to get it right when replacing the axle in the drive unit. If it is too tight or too loose you will have problems. Just like Goldilock’s and her bears your bearing tension has to be just right.

Too much torque on the lock nuts shreds the rubber washer.
The chainring looks warped when the drive unit spins around & chain falls off
If the chainring looks warped then the chainring is probably warped, I’ve had this problem with two different BCD104 adapters getting bent because I trashed on them too hard. Throw them away and buy another one. I’ve also bent the actual alloy chainrings several times too. The best way to see if they are bent is to put them on a totally flat table top and look at them from the side. If they are bent you’ll see it.
If you are having continual chain problems where the chain keeps slipping off the chainwheel no matter how you adjust the tension then you should swap the chainring out to a Raceface Narrow\Wide or a Lekkie Bling-Ring. There are lots of other ways to try to fix this problem, but none work as well as either of these two solutions.
Using a custom removal tool like this one from Cali-ebike makes removal & install of the BBS02 much easier
The motor keeps drooping down like a cow udder when you go off jumps
If you have a 68mm BB BBS02 then most likely the main locking nut on the drive unit has loosened up. Push the drive unit against the frame and use locktite and tighten down the lock nut with a spanner wrench as hard as you possibly can. Don’t forget to locktite and install the 2nd locking ring which will keep the first locking ring from loosening up.
If you have a 100mm drive unit and the unit is loose then the axle extension may have loosened up or stripped the tapped threads and pulled out. This can happen because the tapped threads are just aluminum and the axle extension is steel. The only way to know for sure is to remove the drive unit and check. If the threads on the case have stripped out your only option is to convert that BBS02 drive unit back to 68mm with a 68mm axle and move the existing 100mm axle and axle extension to a new drive unit and re-tap it.
Crankarms don’t line up in a straight line when you look at the bike from the side
This occurs when your axle has twisted or bent. It happens when you are taking your BBS02 off drops, you can try to replace it or you can do what I do and just keep your opposite foot forward on that bike when you ride without pedaling. Most people have a favored foot that they feel most comfortable being forward when you are not pedaling, just swap it with the other foot and keep riding like a hooligan. Either the axle will twist back the other way and be fine or it will break. The crank-arms that ship with the unit are crap as well and I’ve had two of them strip out on the pedal ends. Just throw them away and put on new ones. Make sure you replace it with the right one (R goes on the drive side, L on the non-drive side).
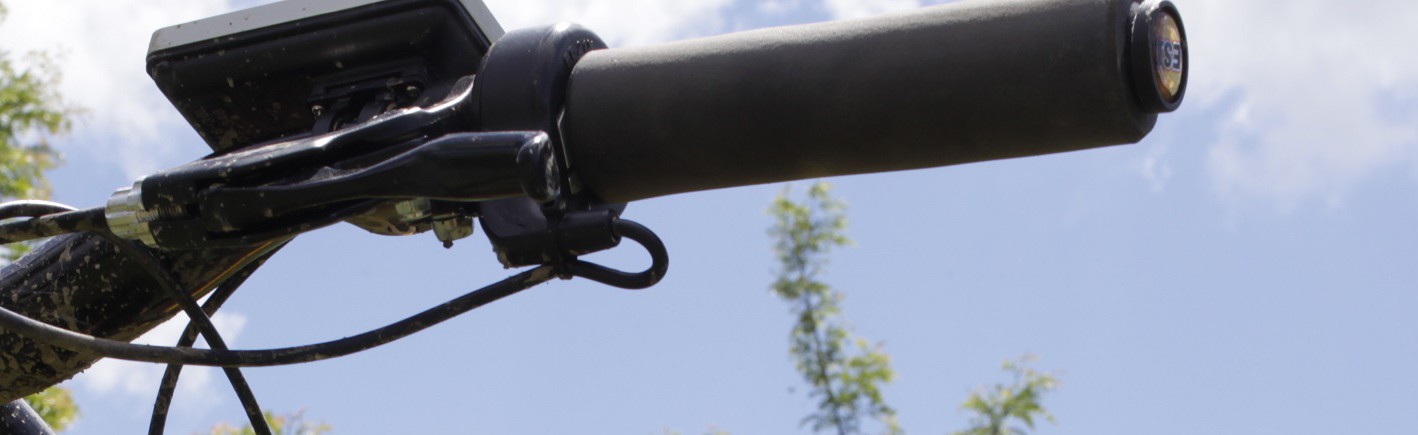
My favorite throttle, a right hand thumb mounted on the left side. Throttles rarely fail.
BBS02 throttles can also fail as can the BBS02 displays if you smash them on the pavement, but it is not that common of an occurrence. If you want to be through before you spring for a new controller than you can test your BBS02 will a different display and\or throttle but in all my time reading about failures on the BBS02 I’ve heard of countless controller failures and very few throttle failures (I think only one).
When you get the BBS02 drive unit directly from Bafang, Ebay or many non-reputable Chinese vendors the PAS0 level will give you no throttle at all. I find this incredibly annoying and most reputable BBS02 dealers will sell you a BBS02 that has full throttle at PAS0. Programming the controllers is pretty easy and even non-techies can do it but it voids your warranty so be aware of that before you do it. Instructions for programming your controller are here and the programming guide is here. Be aware that your controller can be fried and you can still hook it up to your computer and access all the settings. When the mosfets fail there is no way to tell it from error codes or the programming interface. If your BBS02 has a Low voltage cutoff that is too high for your particular pack the only way to raise the LVC is to follow the instructions in the programming guide or send it back to your vendor for reprogramming. If you buy a drive unit with a battery pack most reputable vendors will set the LVC on the BBS02 to match the pack it is mated to.
There is a 13 minute video located here of a BBS02 breakdown that shows all the steps for complete disassembly by Guillaume Devot who somehow manages to keep his workbench impossibly clean the entire time. He is most likely an alien from another planet sent to Earth to shame all other ebike builders for their messy work areas.
Ride On.