BBS02 Mosfet Controller Mods
Posted by Tom Lee on
Update: Newer versions of the 750W BBS02 are shipping with better mosfets that probably won’t blow. Before you take apart your blown controller and switch them out be advised that it is MUCH easier to just buy a new controller with the newer IRFB3077 mosfets, more info about it is here.
The BBS02 controller is the weakest part of the BBS02 unit. When Bafang switched to the 9 Mosfet unit and bumped the power up to 750 watts for the US market they did not replace the poor quality mosfets in the controller with ones that could take more power. Poor programming from the factory and low quality mosfets made a perfect storm for many blown controllers in the field. Contacting Bafang for a warranty replacement was impossible so most people were stuck trying to get replacements from whoever they bought their units from. Since many people got theirs from Chinese sources on Alibaba many people were left with no choice but to buy another poor quality BBS02 controller and swap it out themselves.

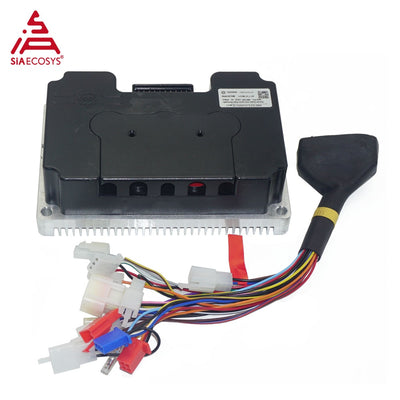
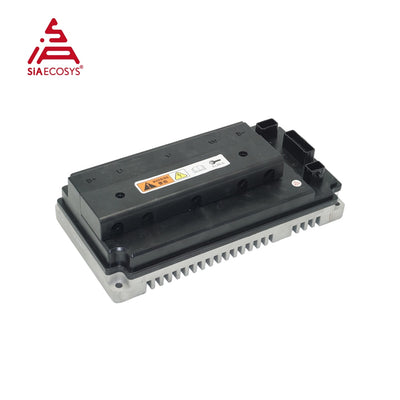
750W controller with better mosfets installed
Don’t kill your controller to begin with
The best way to keep your controllers from frying is to control how your ride the bike. Install an aquarium thermometer in the controller (full instructions here) and watch those temps (also shown on step 12 below). When the controller starts getting over 130 degrees or so then just stop and let it cool off. When you approach a hill make sure you are in a low enough gear. If you’re slowing down to stop then don’t just keep the throttle on full speed while the bike grinds to a halt. This is a guaranteed way to fry your controller as all that power will just be converted into heat. Even if you do everything right there is still a chance your controller will still fail.
Are your mosfets really dead?
You need to pull the controller (step 1) and test it with a meter before you do anything with is. Instructions for how to do it are here. The easiest test is to grab the back tire and turn it backwards. If it is unusually hard to turn even with the motor off and battery disconnected then your mosfets are probably toast. When mine failed I was in the wrong gear, pedaling slowly with full throttle and I heard 3-4 little clicks and then the motor stopped producing power.
Although many things about the BBS02 make replacing mosfets a difficult job it is not impossible. With a little elbow grease and some decent soldering skills you can remove the crappy mosfets from a blown controller and replace them with higher quality ones in about 3 hours.
1) Remove controller: Remove the crank arm and the plastic gear cover then remove the 3 hex screws that hold the controller to the main drive unit. Carefully wiggle it out. Once it is free you will have to unplug the connectors, the black one has a lever that must be pressed to pull apart and the one on the drive unit is usually glued in place with too much silicone but does not have a release mechanism, you just need to pull it hard enough to get the silicone to release. Unplug the 3 banana plug phase wires.
2) Remove the potting material: This is the worst step by far. Using a flathead screwdriver carefully pry up the potting material piece by piece. This should take over an hour if you do it right. There are no shortcuts, so be patient, take breaks and make sure not to damage any components or wires on the motherboard.
3) Buy replacement mosfets: At this point you should be able to see the mosfets in your controller and see if you need 6 or 9 of them. I usually buy one extra just in case I make a mistake in soldering and damage one. If you want medium quality mosfets then buy the IPP034NE7N3 at $3.07 each. If you want much higher quality mosfets then buy CSD19536KCS at $5.80. Under no circumstances should you replace the mosfets with the original P75NF75. You must replace all the mosfets in the controller together, it is difficult to accurately find out which ones have failed and they must all be the same type.
4) Carefully pry out the circuit board: Remove the two screws near the heatsync and carefully pry the heatsync out. The rest of the circuit board should follow. I found that putting the screwdriver under the screws that held the mosfets to the heatsync and levering carefully against the aluminum case I could get it out. Do not rush this and damage the circuit board
5) Short the big cap and unsolder it: The cap may have some charge in it, short the two contacts with a screwdriver so you don’t get bit. Carefully unsolder the large cap marking the side with a sharpie that goes toward the heatsync. If you put the cap back in backwards there is NO WAY that your controller will work.
6) Unscrew the heatsink: All 9 mosfets need to be unscrewed and then carefully clip all their legs off. This should leave 27 soldered in legs on the board. Carefully unsolder them all being careful not to pull the pads up when using the soldier sucker. The circuit board is very cheaply made and the pads will come off if you are not very careful with this step.
7) Soldier in the new mosfets: One at a time. Make sure the solder fills the pad hole.
8) Screw the heatsink back to the mosfets: I use thermal paste on the back of the mosfets. Although they are cooler running, the thermal paste will help
9) Solder in the big cap: Orientation is key here. Get it right
10) Put thermal paste on the heatsink: Will help heat transfer from the sink to the case.
11) Carefully put the circuit board back in and screw it in place with the two heatsink screws. Make sure the temp sensing wire is stuck back behind the heat sink again.

You can see the PAS disabled by removing the grey wire from the pin block in the center and on the bottom left the temp probe laid down against the potting material ready to be siliconed in.
12) Install a digital aquarium thermometer: This step is absolutely critical. If you want your controller to not blow the best way to do it is to know how hot it is all the time. There are tons of people selling Aquarium thermometers like this one for <$5. I buy them 3 at a time on ebay for <$2 each shipped. Carefully push the temp probe through the rubber gasket that the power and controller wires go through. Make sure the tip of the temp probe is pointing toward the heatsink before you repot it on the next step. The entire probe end should be covered in potting material in the next step. To make a handy mounting system for your thermometer take some silicone and squeeze a dab on the back so it goes in the hole then carefully lay a small 1/2 piece of heatshrink tubing across the silicone. You can then run a tie wrap through the tubing when it is dry, hit it with a heat gun (don’t melt the ziptie) then ziptie it to the front of the toptube once the controller is reinstalled. I did a full article on this process with more pictures located here.
13) Repot the controller: This must be done to prevent moisture from screwing everything up. The easy way is to buy some Silicone II (acetic acid free is critical) from any local hardware store and use that. If you want potting compound to replace it with something much closer to what was originally installed then Magic Rubber could be the ticket for you although I haven’t tried it.
14) Once the potting is dry you can re-install the controller unit on the BBS02. Be careful when screwing on the black plastic cover as it can break VERY easily if the tiny screws are put in too tight.
Most people will just pony up the $80 or so for another controller when theirs go belly up, but if you want to make sure that your controllers don’t fry as easily next time you go out and ride, a Mosfet upgrade might be just what the doctor ordered. It will run much cooler than the stock mosfets and should give you many years of good service.