We’ve been promising this Dolomite/BBS02 build for a while and we’re happy to say it works beautifully. This is one of the least expensive BBS02 builds you can do yourself and without a battery it should set you back ~$700 and weighs in without a battery at 59 lbs.

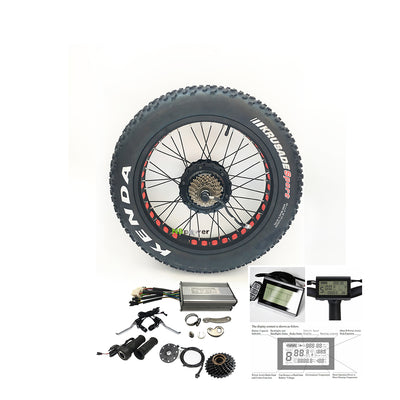
A BBS02 mounted fatbike. Yes please!
The Mongoose Dolomite was originally incorrectly advertised on the Walmart site as an ‘Aluminum’ frame but now it correctly says ‘rigid steel’. The website also incorrectly lists the weight at 45 lbs but is actually 49lbs shipped and assembled (still 11lbs lighter than a single speed Beast). Although steel bikes are much heavier, many people prefer them as you can load a lot of weight onto them with less fear of catastrophic frame failure. This is even more of a concern with hub motors, which at the higher power levels can rip apart dropouts in pretty short order.
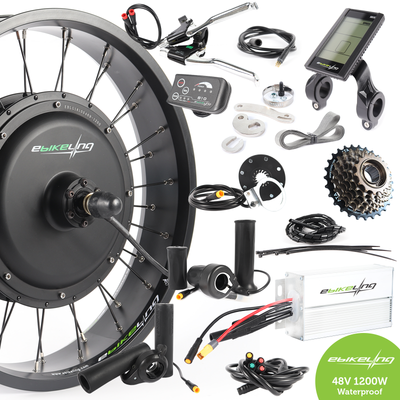
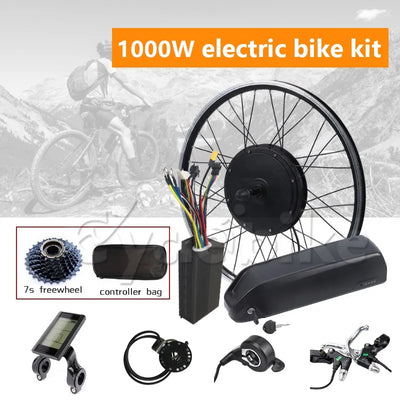
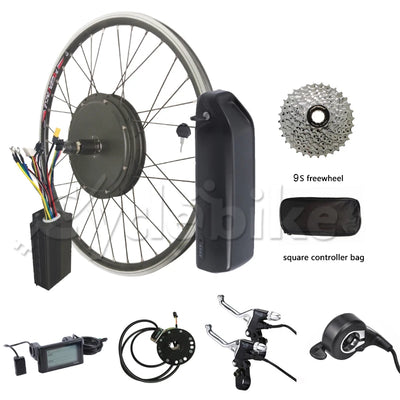
The price on the Dolomite changes pretty wildly on the Walmart website and I’ve seen it for anywhere from $350 down to $169. Right now it is here at $219 but that can change at any time. The only vendor I recommend for the 750 watt BBS02 is Eric with US based Lunacycle.com. He sells the BBS02 750W version at Chinese prices for only $520.
Larry from Boxy Bikes did this build and if you want to buy an already converted bike you can order one here. You can also swing by his shop in Ithaca, NY and take it for a spin. Larry is one of the nicest guys I know and he stands behind the bikes that he sells and is an honest, stand-up guy.
Here are a few notes from his build
- I was able to grind down the BB to 70mm. I used the grinder to do the bulk of it and then hit it with the facer tool to even it out. Probably could be done without the facer tool. 70mm gave enough BBS02 threads to put the lock-nut on. If I were to do it again I would try to grind down a couple of mm less on the non-drive side and leave a couple of mm more on the drive side so that the chain doesn’t rub in the lowest cog. I’ll probably add a chainring adapter which will move the chain-ring out so it doesn’t matter that much.
- The ebrakes have a shorter pull than the originals so they are a bit mushy but tolerable.
- I put a longer seat tube on it. I should put a beefier chain on it.
- I took it for a test drive (but couldn’t pedal because it only has one crank arm.) It got up to 22mph. I plan to put a smaller chainring on it for steeper hills.
- It kept throwing the chain if I changed more than one gear at a time. Adjusting the chain line with the chain-ring adapter may fix that.
- You will need a massively offset crank on the non-drive side to clear the chainstay.

The BB Facing tool

This is the slow way to do it.

Angle grinding off the BB, a much faster way to do it

Down to 70mm

Attaching the lockring

Massive offset and steel. A total overkill but we can’t seem to find aluminum ones with the right amount of offset.
This build is an excellent commuter, but would be undesirable for singletrack trail-riding due to the weight of the steel frame.
For instructions on how to install a BBS02 look no farther than here. A special thanks to Larry for putting this all together for everyone to enjoy.
Ride on.